Saturday, 13 September 2014

DIY Party sheet tents


As promised to you all, my DIY party tent- made from recycled fitted sheets. I must say these worked out a lot better than I thought. I mean who would have thought some old sheets could pull off the frilly edged sparkly snow flaked Elsa kingdom look I was going for?

For the girls’ party, I planned a range of Frozen themed interactive sensory play areas. Each tents housed one sensory play including Elsa magic sand (link), Olaf water beads (link), Olaf water blob (link) and Kristoff water slide. They were incredibly successful from a broad range of aged kids (and us big kids too!). The tents worked great to differentiate between the different activities as well as keep the kids out of the sun. So here’s the instructions to follow for your next party. Oh and did I forget to say it didn’t cost a thing? How great is that!

Instructions
1.  Sew the long edge of the fitted sheet to the long edge of the flat sheet
2.  Take sheets outside and erect with tent poles, pegs and rope

OPTIONAL: Decorate with frilly crape paper and snowflakes cut from contact paper.


 This is some photo’s post party. These sheets stayed up for a week.


Saturday, 6 September 2014

Do you wanna build a snowman?


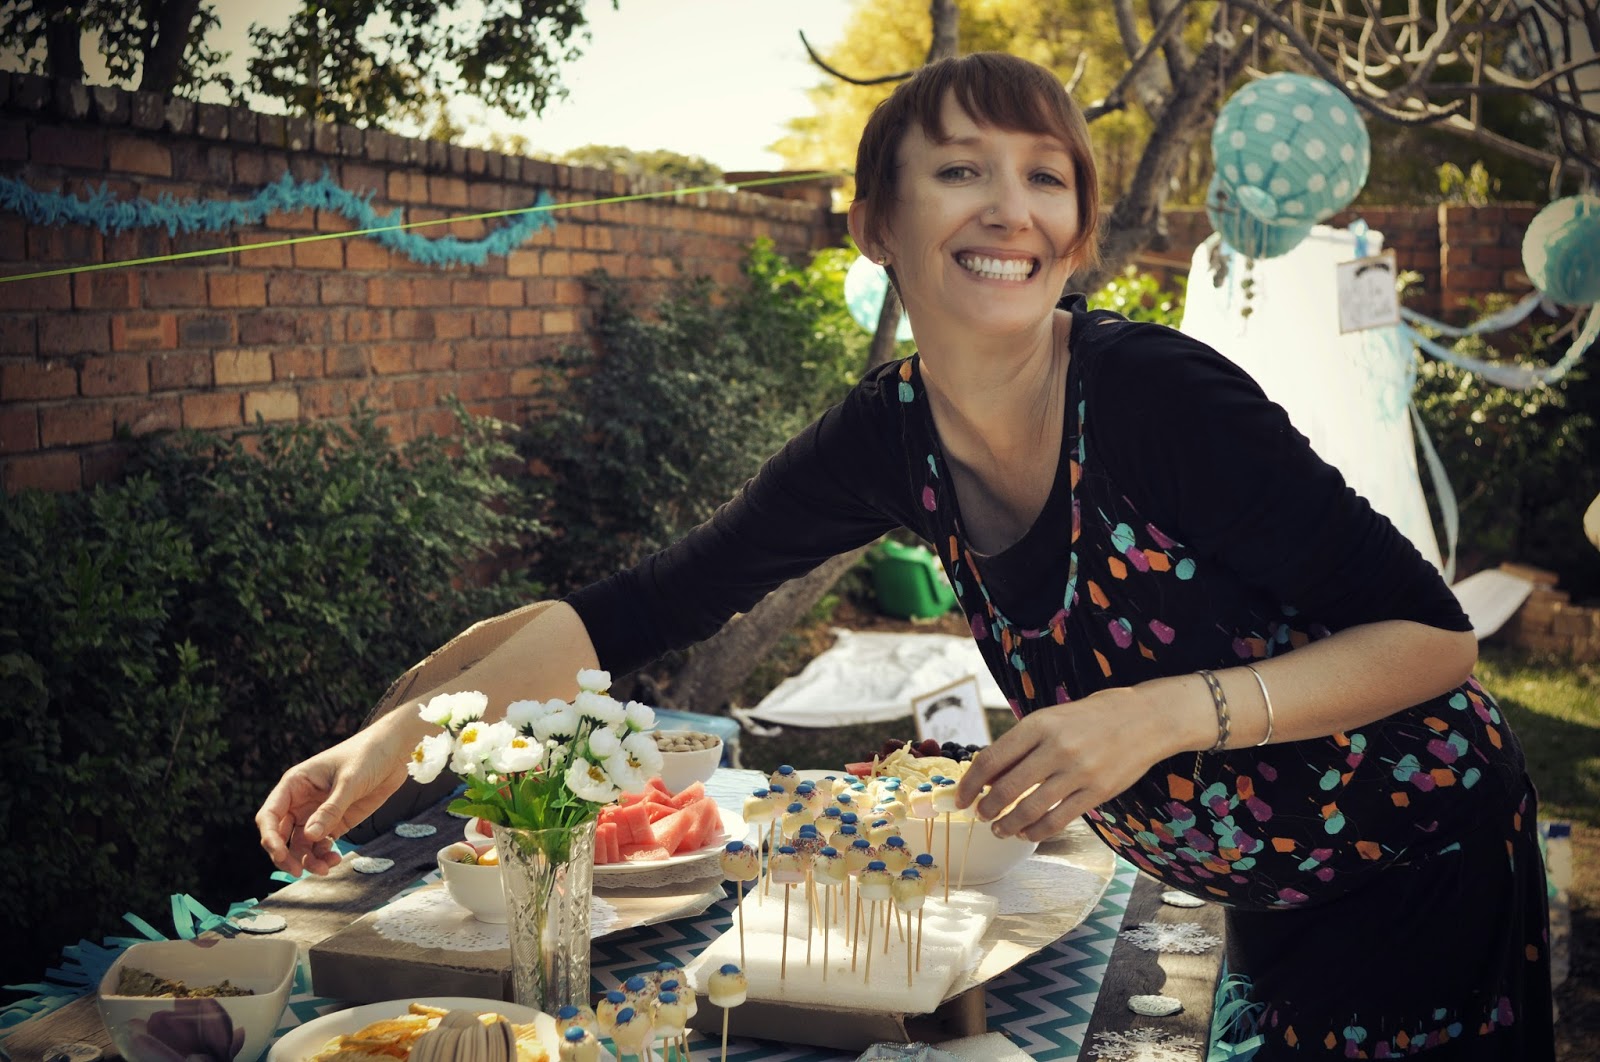
So how do you spend a day celebrating being two and five? With recycled sheets and card, magic sand, tapioca pearls and sheet ice castles in a Frozen festival! Did I mention there were 24 kids, most of which were 5 and under? Yikes!

So to entertain them all, we had a series of tent stations (upturned fitted sheets on tent poles) for the kids to interact in throughout the morning. I have never been a big fan of the corny planned party games. So I made up a big batch of tapioca pearls and magic sand (see my past blog post) as well as a large water blob the kids could wobble on, an ice slide and an Elsa castle. The birthday cake was an ice cream cake (for the kids to eat) and a cheese cake (for us ‘bigger’ kids)- both eaten up quickly!

A huge thanks need to be given to my great friends who helped out on the day. The party kicked off with sleepovers from the Smithies the night before. With a lot of help from this tribe of 6, the party was ready to roll at 9:30. My great friend Suzy was the fruit chopping queen and wonderfully skilled at hunting and gathering some other good tucker- thanks mate! Throughout the day Tash, Suzy and my mum helped keep 24 little mouths fed and made my kitchen look cleaner than it has in years. And my great friend Frankie did some fantastic Elsa face painting and other great designs on the day. She is available for parties- send me a line if you are interested J

I will post some DIY’s to help out anyone planning a Frozen party. Most of my material was borrowed or recycled, so the cost was quite low. And to quote my eldest 5 year old:

"Best. Day. Ever!"

Here some pics from the fun day!

poppy xxx


Monday, 14 July 2014

DIY finger paint


I must say, I am a bit in love with my thermomix. It has helped me to make such yummy meals and tasty treats so easily. And I don’t like cooking. So today I thought I’d try the finger paint recipe in the thermomix. Apart from it being easy, quick and cheap (only needed simple cooking supplies) the kids LOVED the texture. I gave both my girls an ice cube tray of paint and they were set for an hour. It didn’t stain their clothes, it washed off their hands with a shake in a bucket of water and has no nasty chemicals in it! Two thumbs up from me.

So next time you come and visit us at our place we can make some finger paint and have a play with it. We may even let the kids have a go J

Thermomix finger paint recipe


40g caster sugar
1 tbsp sea salt
70g cornflour
470g water

Add all ingredients 5mins/80 Degrees/speed 4
Allow to cool before adding food colouring

Have fun with it!


poppyxx

DIY Olaf! So easy and so fun!


My kids are hooked on Frozen right now. My eldest daughter refuses to be called anything but Elsa and my youngest walks around the house pretending to sneeze and then laughing her head off- just like Olaf. 

I must say I am a bit frugal when it comes to buying things for my girls. I'd much rather make it that buy into the plastic coated disney franchise. So this is a quick little craft you can do with your littlies that they will enjoy to make and play with. Here's what you need:

Materials

Cotton balls
craft glue/glue gun/some type of quick drying glue
paper
black pen
orange felt/fabric
small sticks

Steps

1. Make the body by unrolling two cotton balls and wrapping them around one cotton ball. Glue together.
2. Glue on head
3. Pull apart a cotton ball to make two feet. Glue to bottom
4. Draw eyes and black stones. Glue on.
5. Cut out triangle from felt and glue for nose.
6. Add glue to one end of a stick and push through cotton ball. Hold.

Finished! Now walk around your house and pretend to sneeze, then laugh uncontrollably. Check out the clip below as to why my almost two year old thinks Olaf is hilarious.


poppy xx


Sunday, 13 July 2014

Kid. You will move mountains! -Dr.Suess


I am grateful for the beautiful charismatic characters in my life. They are full of love, colour, cuddles and sticky fingers. 

When I am old and reliant on Morris to remember to clean my denchers, I know I will look back on this part of my life and smile. A warm smile that will rose my cheeks and expose the happy creased lines that life has blessed me with. 

So this is a tribute to all those things that will be and all those things you can be. 


Uncle Cliff, who can pull off the princess look..... in a bearded and tattooed kind of way.


Summer drinks and chillin' with the hound. A straw in a drink always makes it taste better.


When your new "Yellow Bed!!!!!" causes you to scream to the top of your lungs and beam brighter than the sun. Life is good.


Rock out dudes! Express your passions because it is you who has to enjoy your life. Not anyone else!


Do those things that make you happy. Because you can do anything you want to do. Enjoy each day. Especially if all it takes to feel like a princess is to add a bit of glitter.

poppy xx

Friday, 27 June 2014

Mount Sickness = no craft arvo :(


There is a mountain forming in the kitchen at our place. Beginning on the first foundation layer is snotty tissues. Following this there is a mixed sediment layer of vitamins, lozenges and syringes. And holding all these layers in place is the much needed top composted mulch that is antibiotics.


So I think we shall give this crafty arvo a miss. I will not be sharing this mountain with you!


Despite my aching body, I decided that having time in the winter sun was a must and I re-planted one of my late Nana’s pot plants in my garden today. I am enjoying having a few plants around my place that were part of her garden. She was quite the green thumb, so I pride in having the plants that she enjoyed here with me to enjoy also. Enjoy your weekend and school holidayspoppyxx

Sunday, 15 June 2014

Clay gift tags @ craft arvo


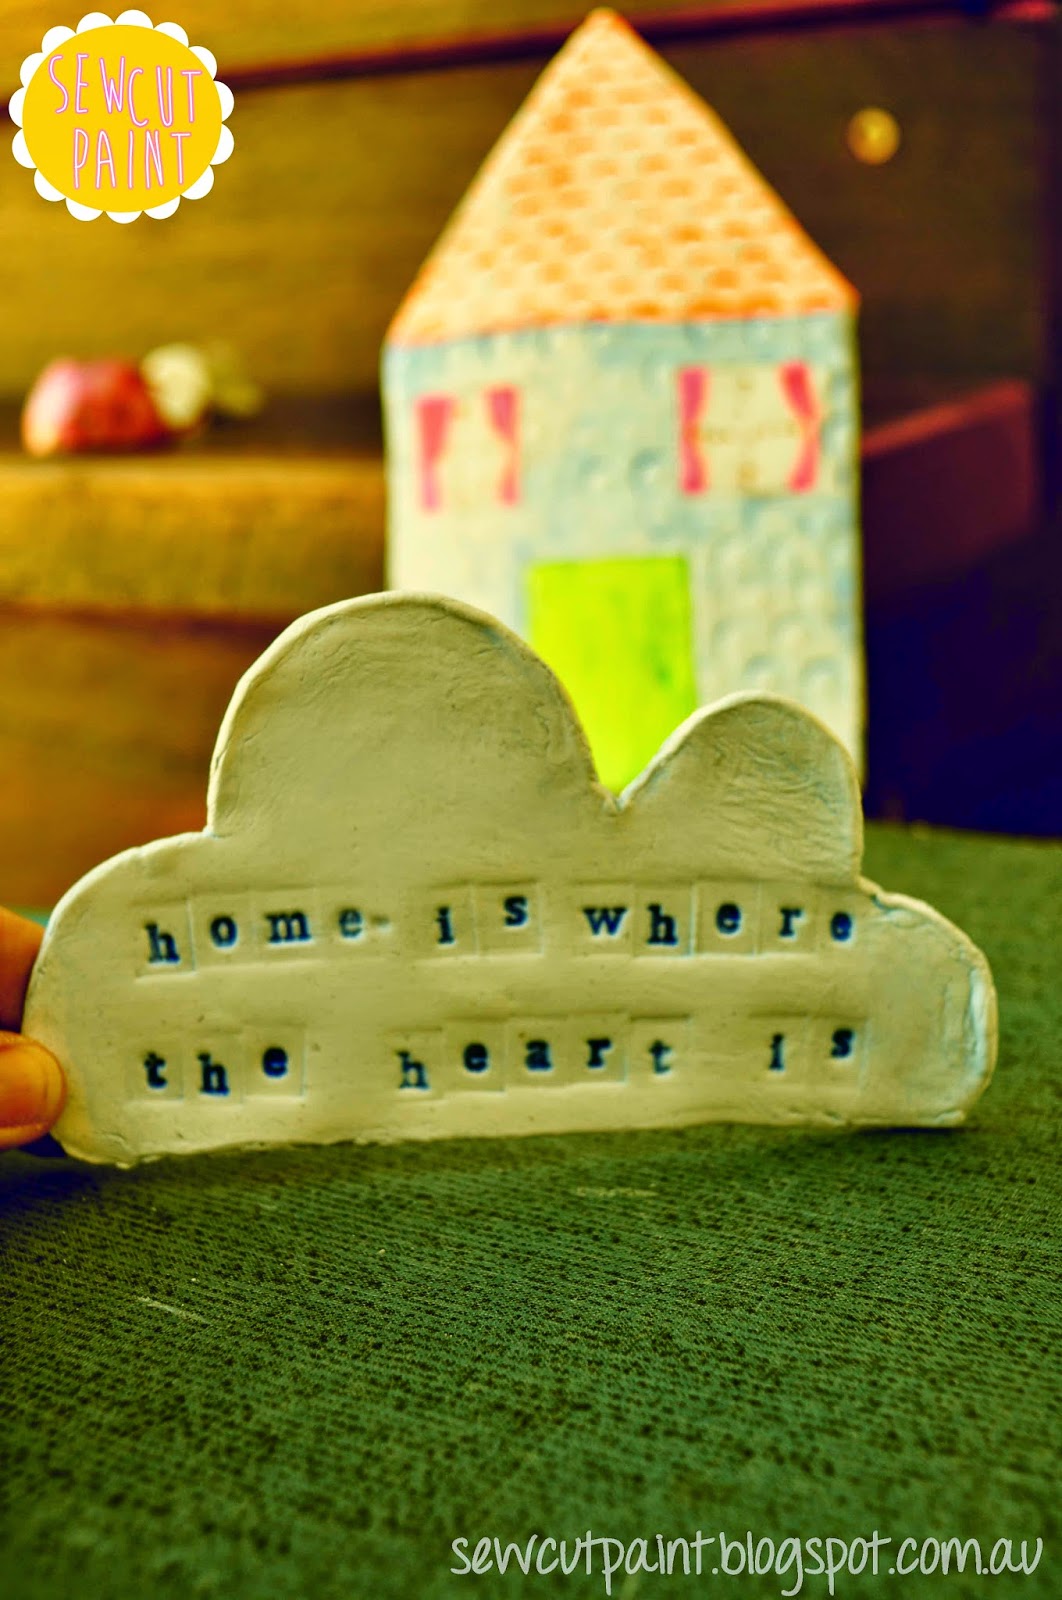
With so many birthdays coming up, I thought I'd get ahead and start making these clay gift tags. And as usual, I got carried away and made a few wall plaques, a dala, some clouds.... it was a fun time! And I used air dry clay, which meant no other cooking process. Yay! So lets play with clay together. Come along to my place next at 3pm on the 30th June and you can take away a few gift tags or a small wall plaque. 
Send me a line if you want to come!
poppy xx